A newsletter is one of the most powerful tools in a marketer’s arsenal — and here’s why:
- Email newsletters are an on-demand source of traffic: Be it a new article, product announcement or a sponsored post — you’ll always have access to a community of people genuinely interested in your content. With just a few clicks, you can instantly reach out to 1000s (or more) of subscribers.
- They easily trumps social media: While your Facebook Page or Twitter handle is great, most folk simply aren’t alerted to social media posts, an email list, on the other hand, is both personalized and has much, much better reach and engagement.
- The larger and more targeted your email list, the better authority you demand in your niche. Simply put, it’s an asset no one can take away (not even Google!).
Countless marketers have relentlessly stressed the importance of building an email list and all of them have one thing in common: They only regret not building their email list sooner!
Today we’re going to learn how to setup a free newsletter in WordPress using MailChimp (without doubt one of the very best email marketing systems available today). By the end of this tutorial, you’ll be able to:
- Create a newsletter in MailChimp and integrate it in WordPress
- Create highly customized newsletter designs with MailChimp’s editor
- Start building your email list at absolutely zero cost
So, let’s get started. Here’s what we’re going to do:
- Signup for MailChimp
- Create a sample newsletter with MailChimp’s design tool
- Integrate the newsletter in WordPress with and without using a plugin
Signing up to MailChimp’s Free Newsletter Service
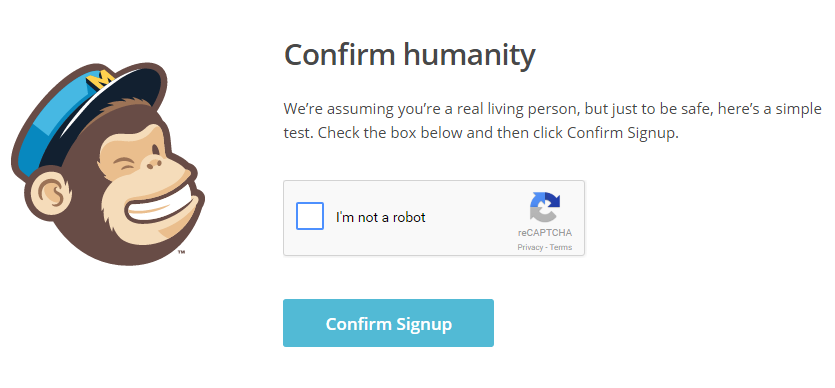
Signing up is a pretty straightforward process, simply head on over to MailChimp, click on Sign Up Free and follow the on-screen instructions. You might get a simple image captcha as an anti-spam measure.
First off, you need to enter your email, username and a secure password to get started.

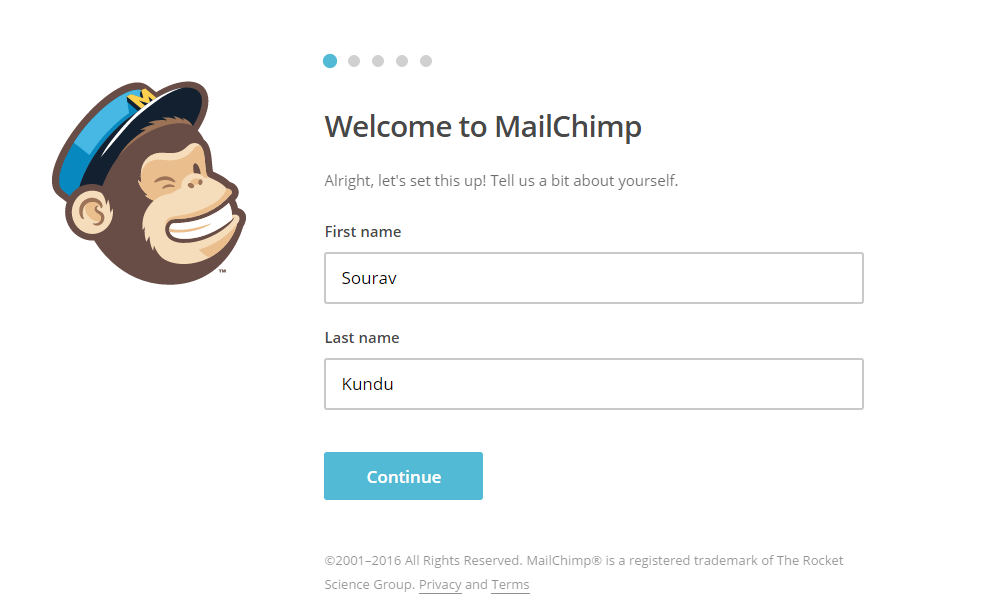
Enter your name. This will be used as the default sender name in your email marketing campaigns.
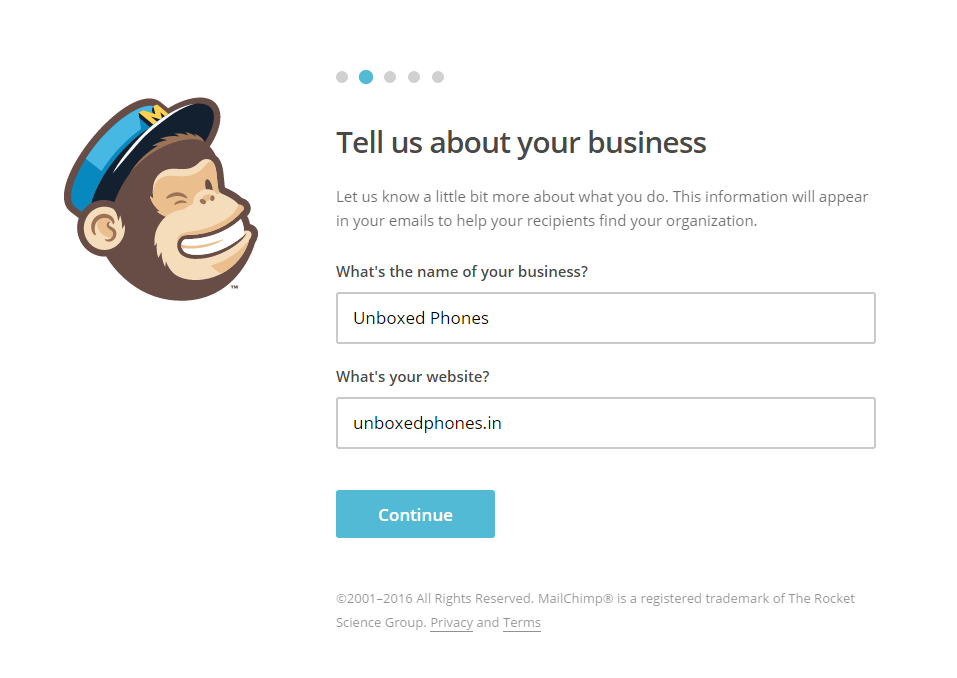
In the next page, describe your business — especially it’s name and website. Don’t worry if you don’t have a website — you can use a Facebook Page or Twitter page.
In this step, you do need to add your business address in order to comply with some anti-spam laws. If you’re a freelancer working from home, co-working space or even Starbucks, you simply need a physical address where MailChimp can send you letters.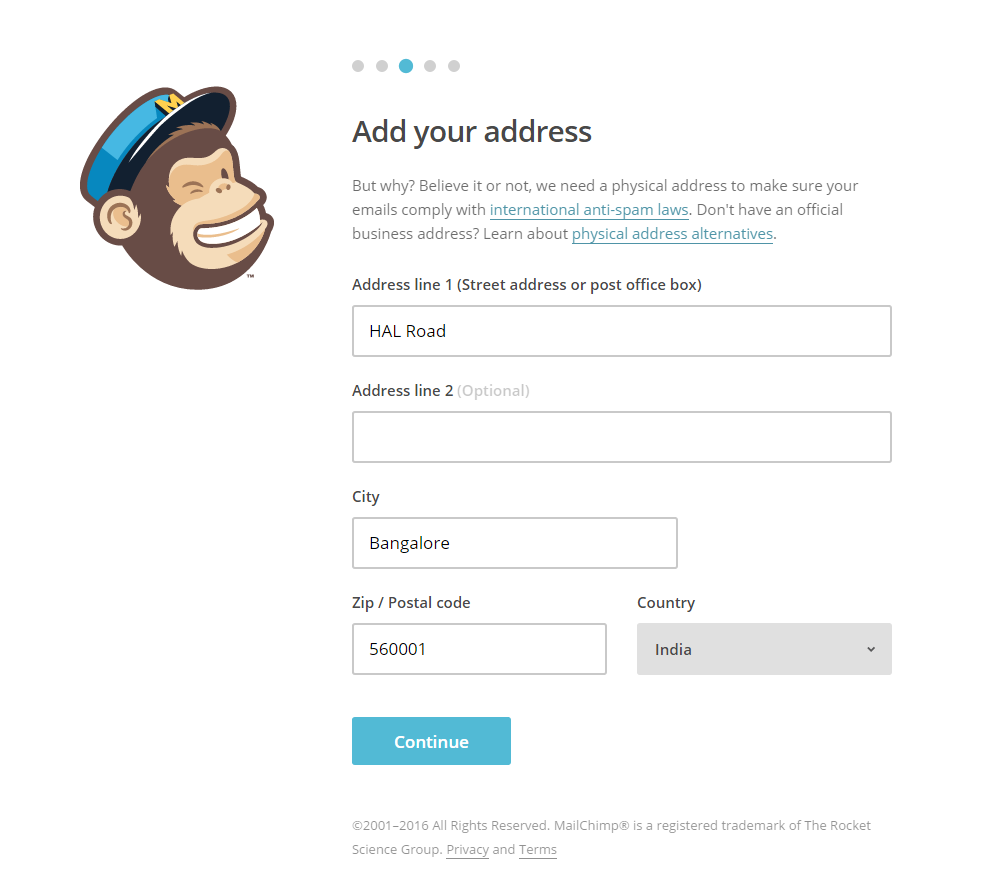
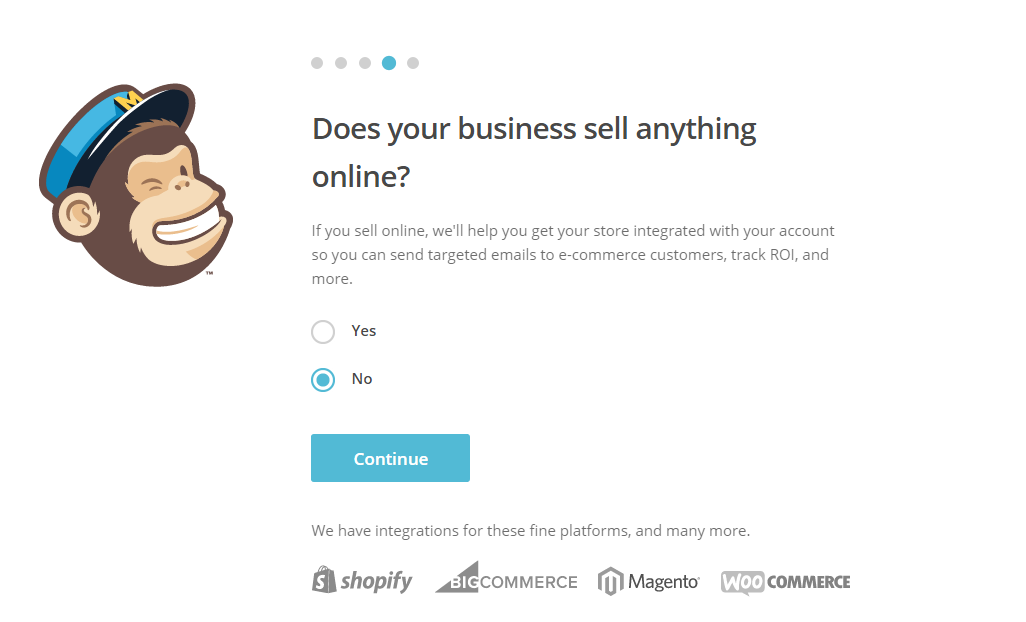
The next step links MailChimp to your existing eCommerce platform. For the purpose of this tutorial, we’ve kept it simple. If you have WooCommerce installed in your WordPress site, you can always try this out. However, I would recommend doing it after you’re familiar with MailChimp.
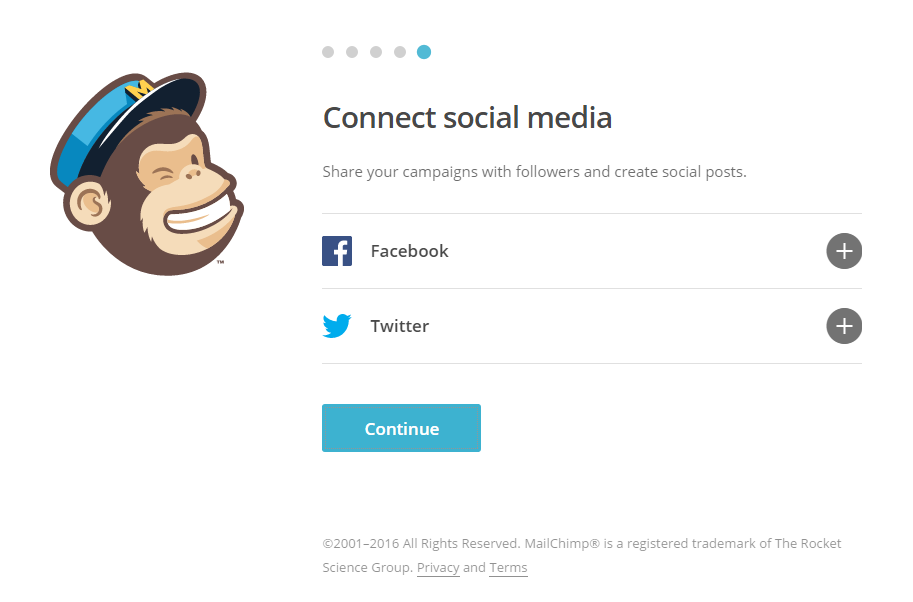
In the final step you can link your Facebook/Twitter to your MailChimp account to share your newsletter subscriptions.
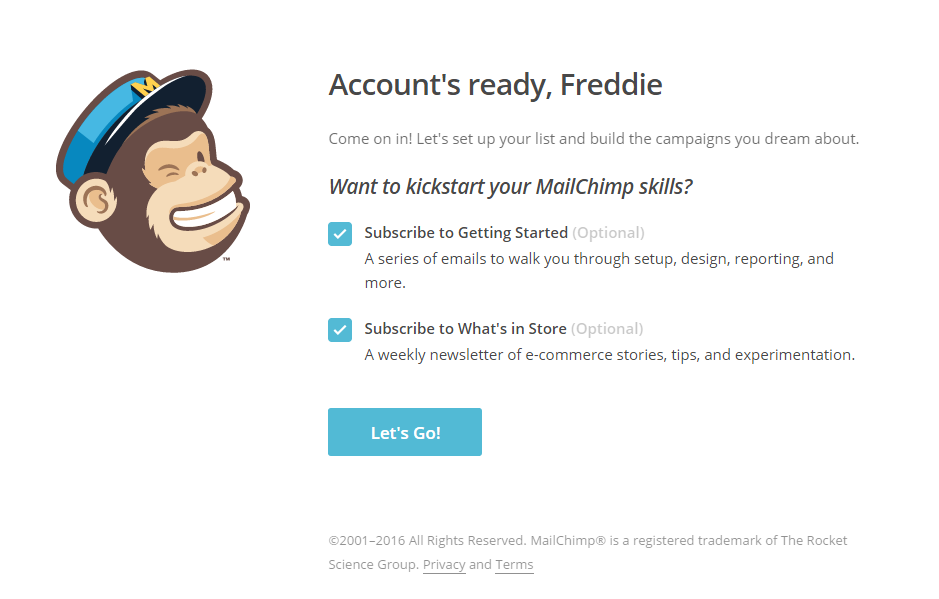
An optional newsletter subscription screen comes up where you can subscribe to the MailChimp’s highly recommended newsletters.
How to Create a Free Mailing List with MailChimp
Now that we’ve signed up and configured our basic account in MailChimp, it’s time for us to get started with building a newsletter.
- First off, we need to create a list. Lists are where you store your contacts (we call them subscribers). You can also split a list into overlapping sub-lists or groups and setup different campaigns for each.
- Campaigns are the actual emails themselves. You design email(s) for a campaign to send out to your list.
HOW TO CREATE AN EMAIL LIST IN MAILCHIMP
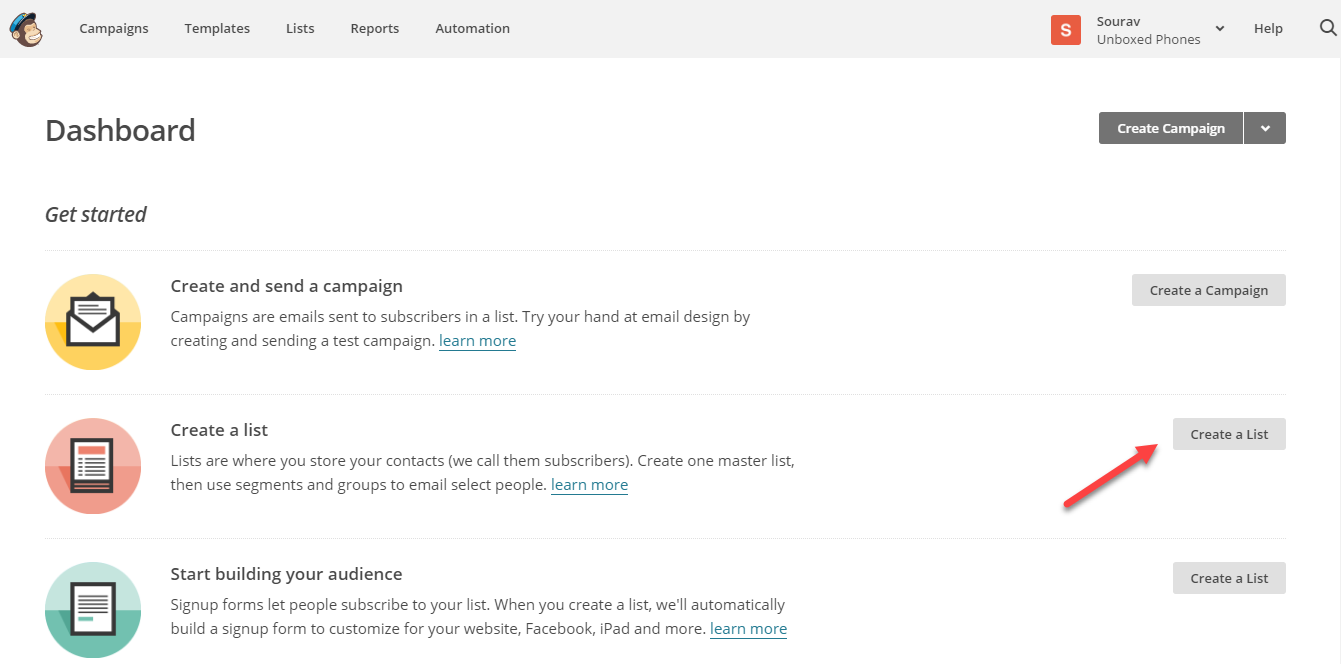
After configuring the new account, you’ll be redirected to the MailChimp dashboard. Click on Create a List to proceed.
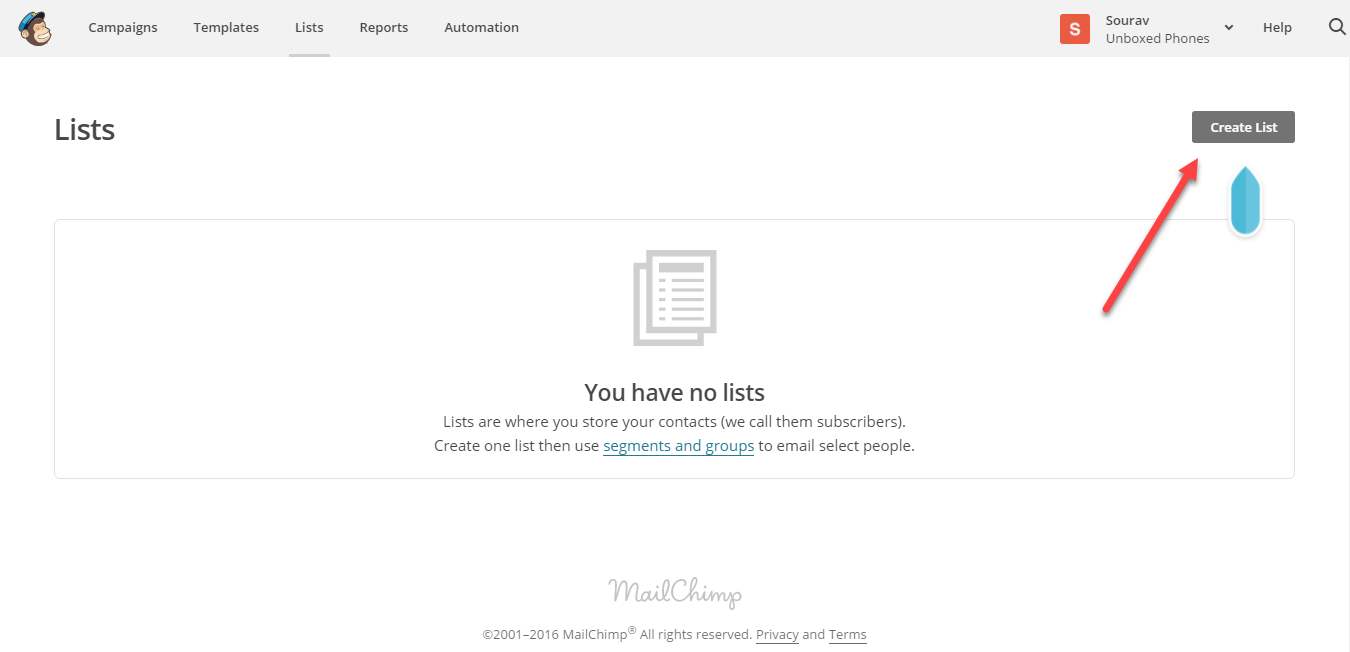
This is your Lists page. Select Create List to get started. The screenshot below is pretty long and contains a preview of almost all the options available when creating a new list. All the options are pretty self-explanatory. Couple of points that might be worth sharing:
- The sender’s name and the tone of the “email subscription reminder” copy play an important role in your brand’s image. Plan the copy accordingly. It is always better to have a fun/casual tone (much like MailChimp’s own branding) as it helps people relate to your brand quickly.
- In the initial days of setting up a campaign, it is always preferable to receive all subscription notifications.
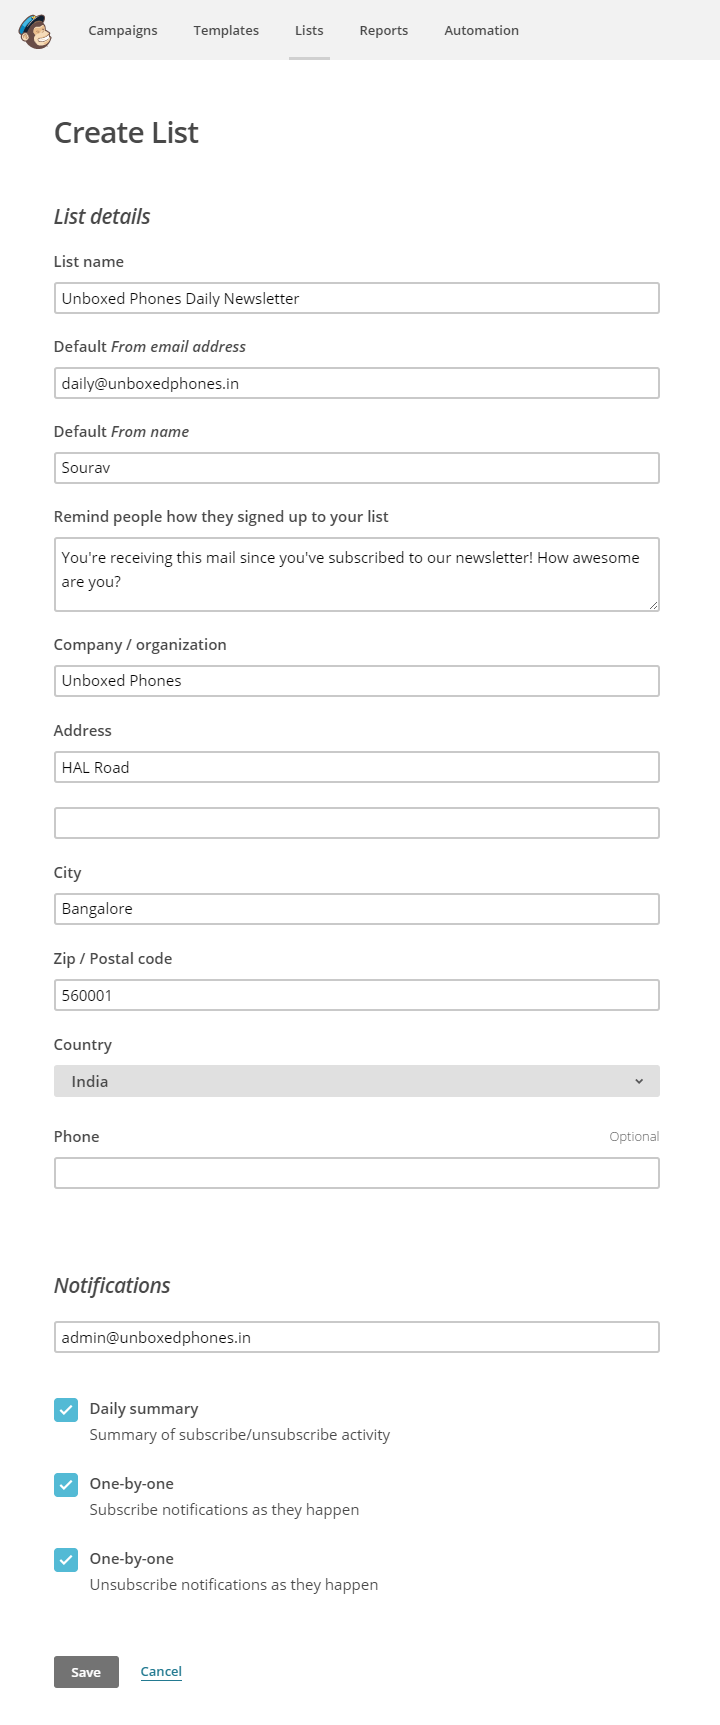
Hit Save to create the mailing list. That’s it — congratulations on setting up your new mailing list!
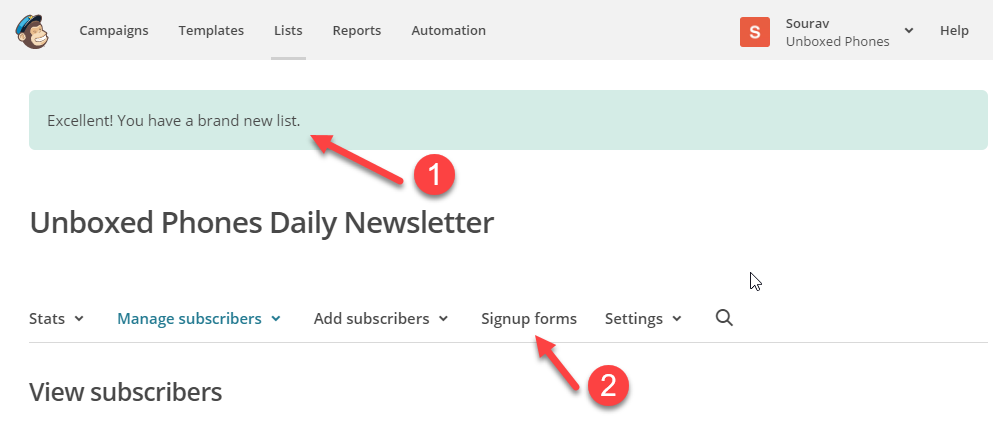
Take a note of this screenshot (2), we’ll revisit this when we’re configuring MailChimp in WordPress.
HOW TO CREATE A NEWSLETTER CAMPAIGN IN MAILCHIMP
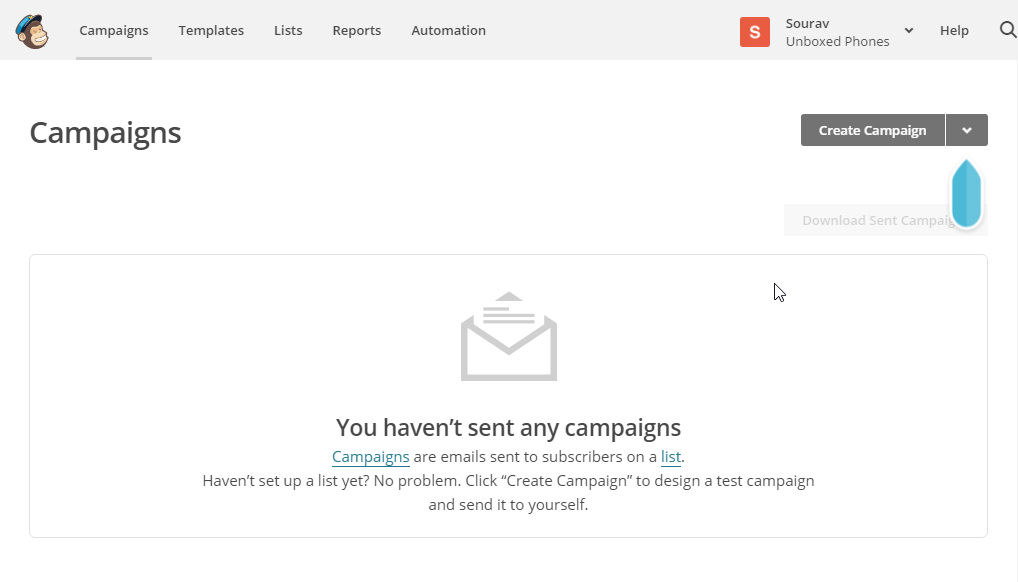
Now that you’ve created a list, it’s time to create your first campaign. To get started click on the Campaigns tab from the top menu. As you can see, no campaign has been created yet. Click on Create Campaign.
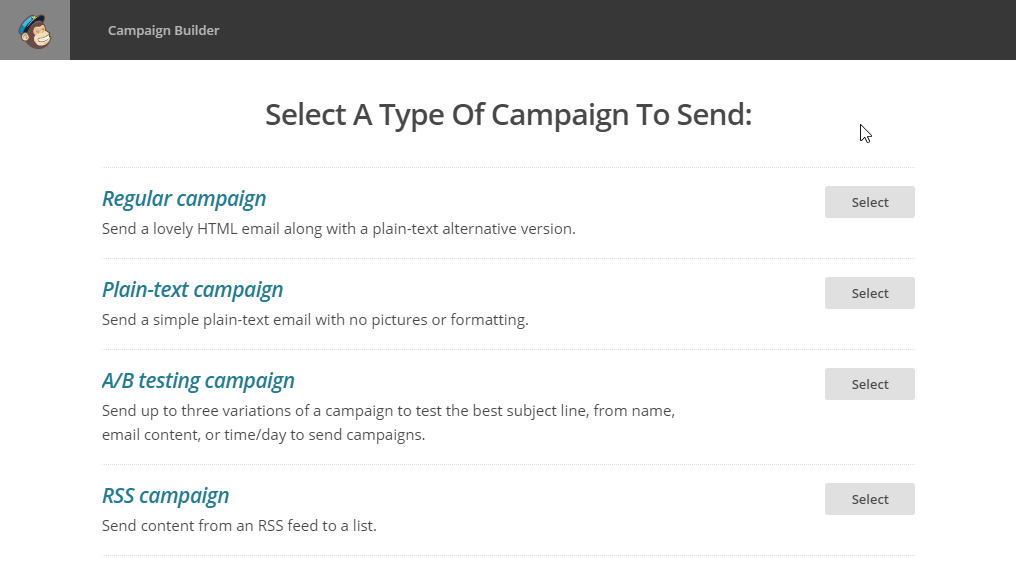
For the campaign type, let’s use a Regular Campaign for our tutorial.
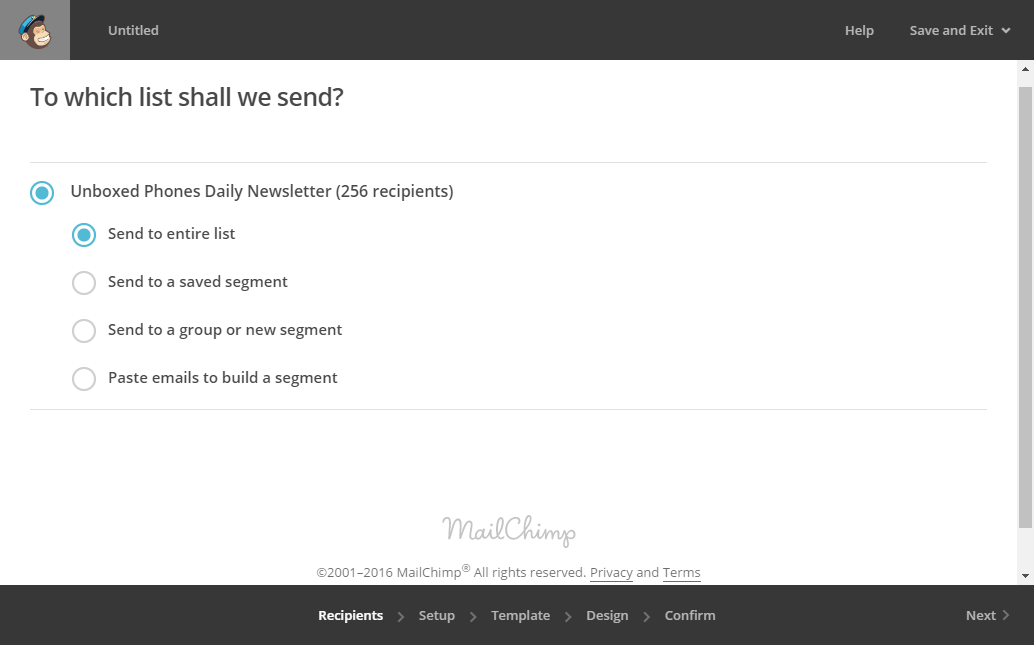
The next part MailChimp asks you to select the audience of the campaign. In the beginning you just want to send the email to a tet group. So you can select the last option — Paste emails to build a segment and type out a few test (working) email addresses. Click Next to proceed to the next step.
Under Campaign info plan the email subject and the sender’s name carefully. It plays a major role in brand identity and effects the open rate of your newsletter. You can also use merge tags to personalize your email.
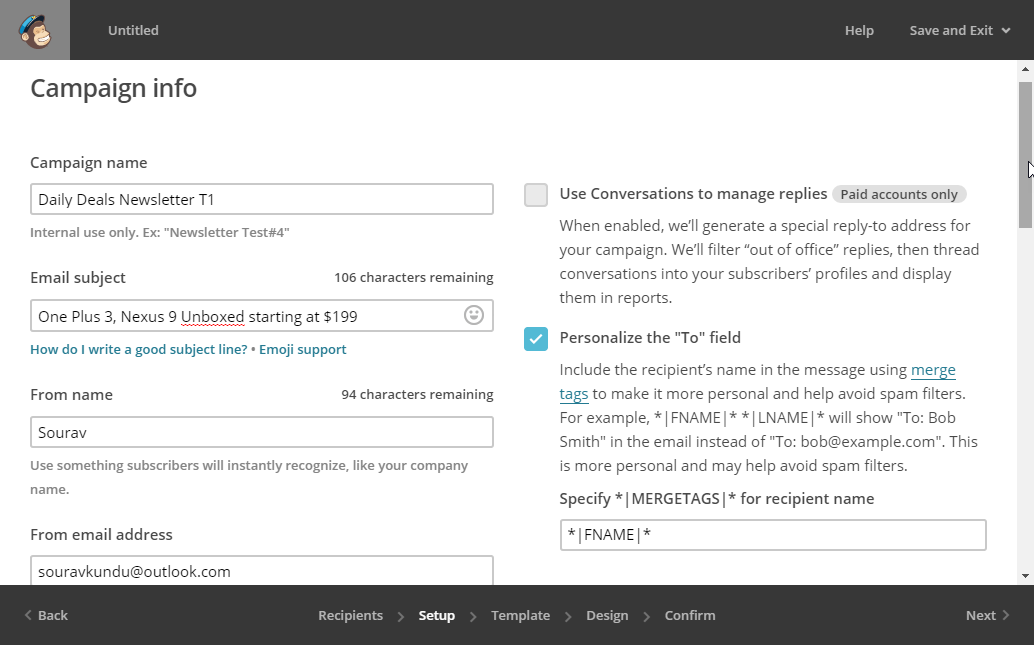
For example, the *|FNAME|* merge tag is a placeholder which is replaced with the receiver’s actual name. If not set, it will revert to a default name.
- Suppose the subject line is: Hey *|FNAME|*, check out these End of Season Sale Items!
- The actual email will read Hey Sourav! Check out these End of Season Sale Items!
- If the first name is not available for a particular email, it would read like: HeyBuddy! Check out these End of Season Sale Items!
Personalizing newsletters significantly impacts the open rate.
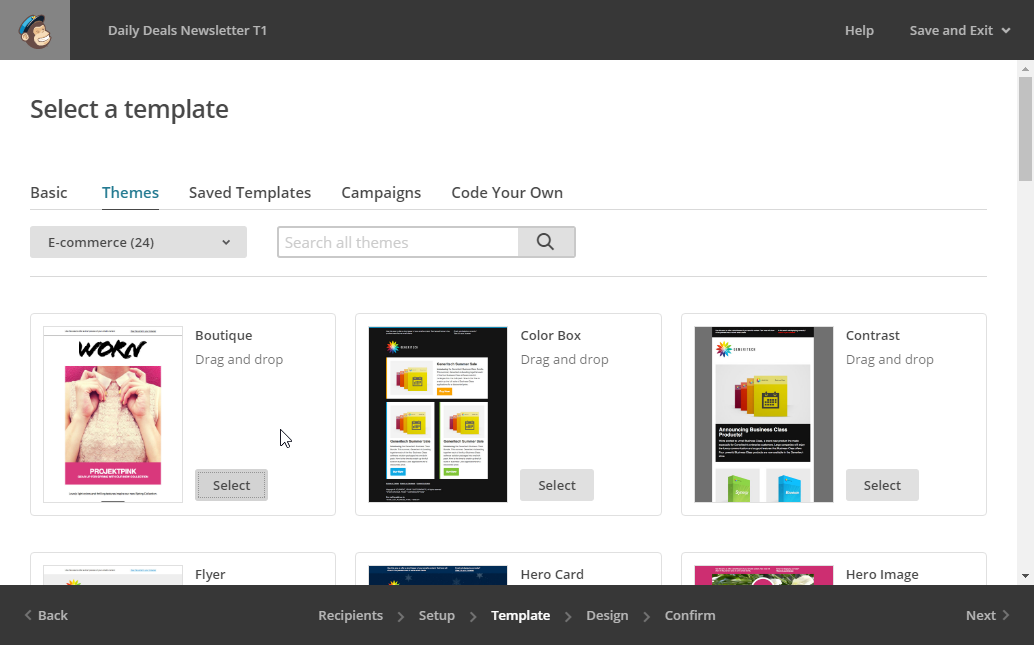
The following steps are pretty straightforward. You simply select a template from a variety of categorized collections.
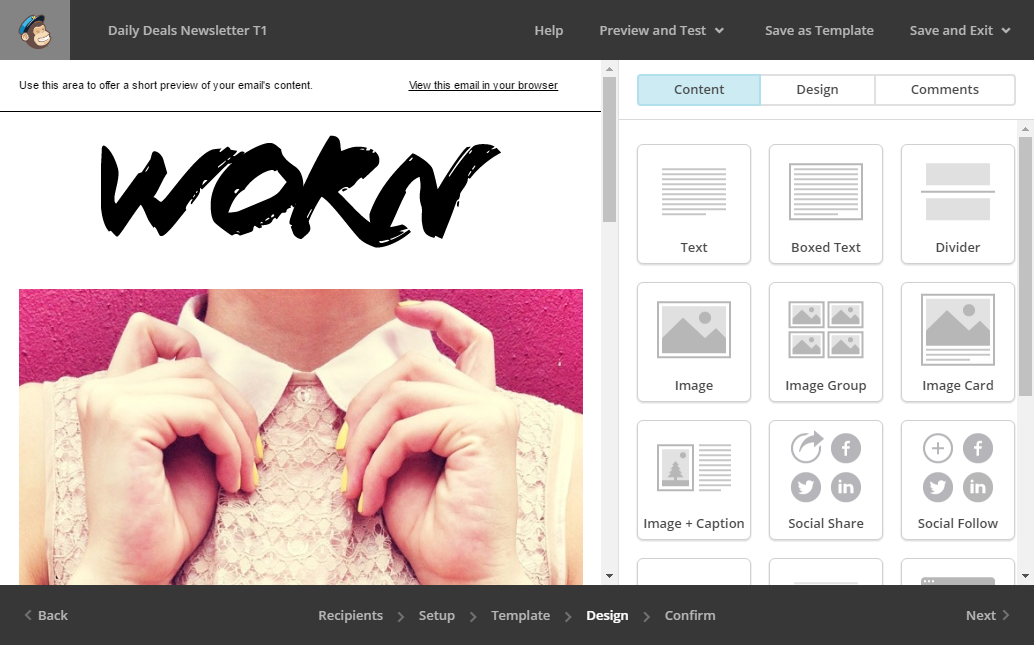
You can then customize the email using MailChimp’s awesome drag-and-drop newsletter design tool. All the designs are 100% responsive, so you don’t have to worry how it would look in a mobile device. You can also get a live preview of your designs by selecting the Preview and Test option on the top menu.
Once done select Next to proceed to the confirmation screen. In this stage, ensure that all the items are set to a green tick. Pay attention to the yellow warnings and resolve them before sending the newsletter.
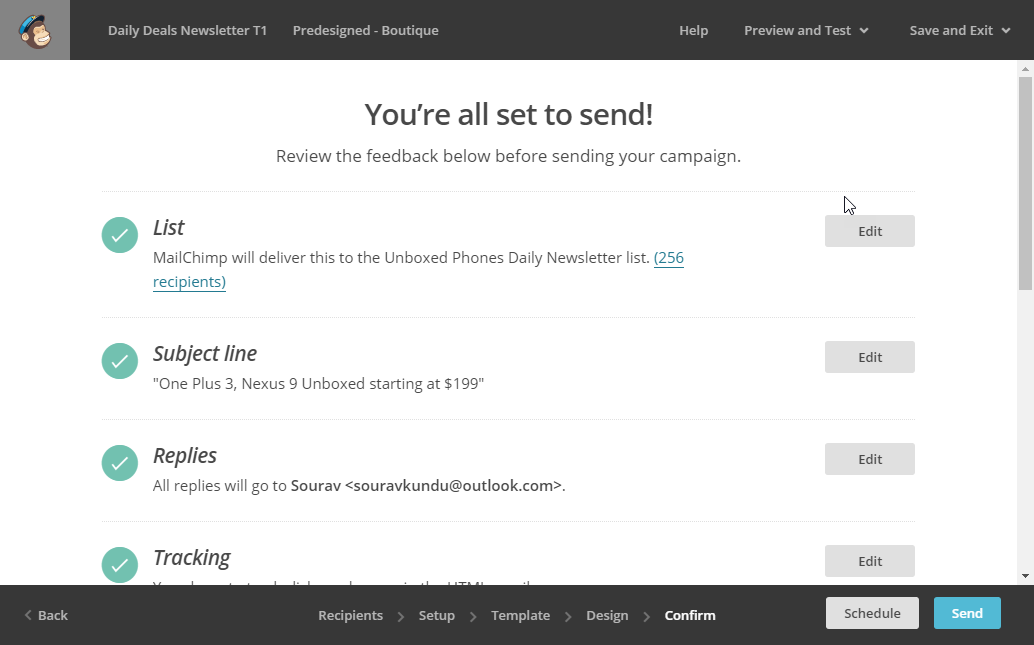
Once you’re double-sure, hit Send Now to start the campaign.

Voila! Your campaign was successfully sent.
How to Setup MailChimp in WordPress
So far, we’ve covered how to:
- Create and configure a new MailChimp account from scratch
- Create a new email list
- Design and send out a newsletter campaign
Now, let us see how to add a newsletter subscription or signup box in WordPress. There are two primary ways to do it.
- Method 1: The first one is very simple, where you only have to copy a piece of code from MailChimp and paste it in a WordPress HTML/Text widget. You can place that widget anywhere, but most people place it in the sidebar — which is where you get the classic “newsletter subscription box in the sidebar”
- Method 2: The second method involves using an awesome plugin called MailChimp for WordPress which has a bunch of awesome features such as shortcode integration, comment and registration form integration and much more.
METHOD 1: SETTING UP MAILCHIMP WITH WORDPRESS SIDEBAR WIDGET
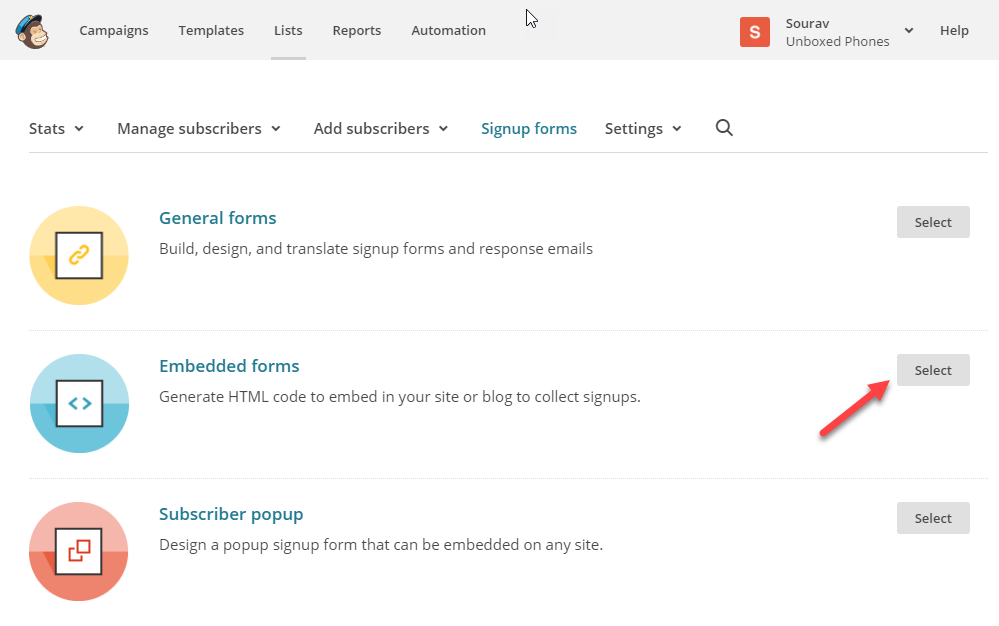
Login to your MailChimp account and navigate to the Lists tab and select Embedded Forms.
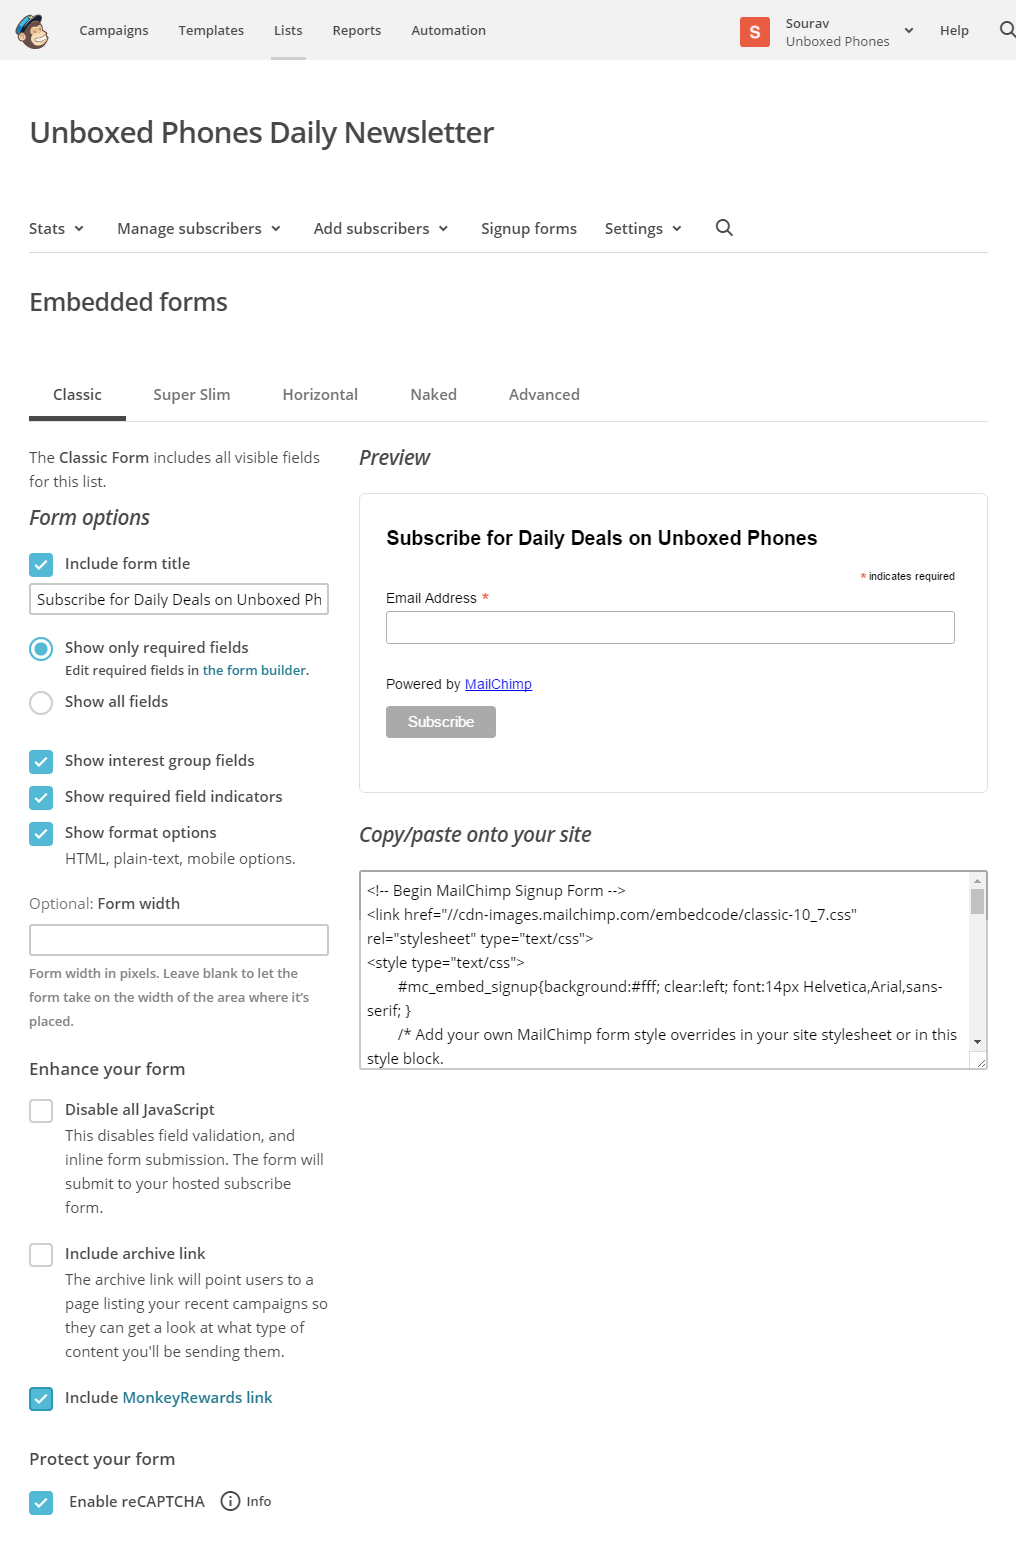
The following screenshot lists all the options in the embeddable form. You can design to suite your brand’s colours. Once you’re happy with the preview, copy the code from the textbox below.
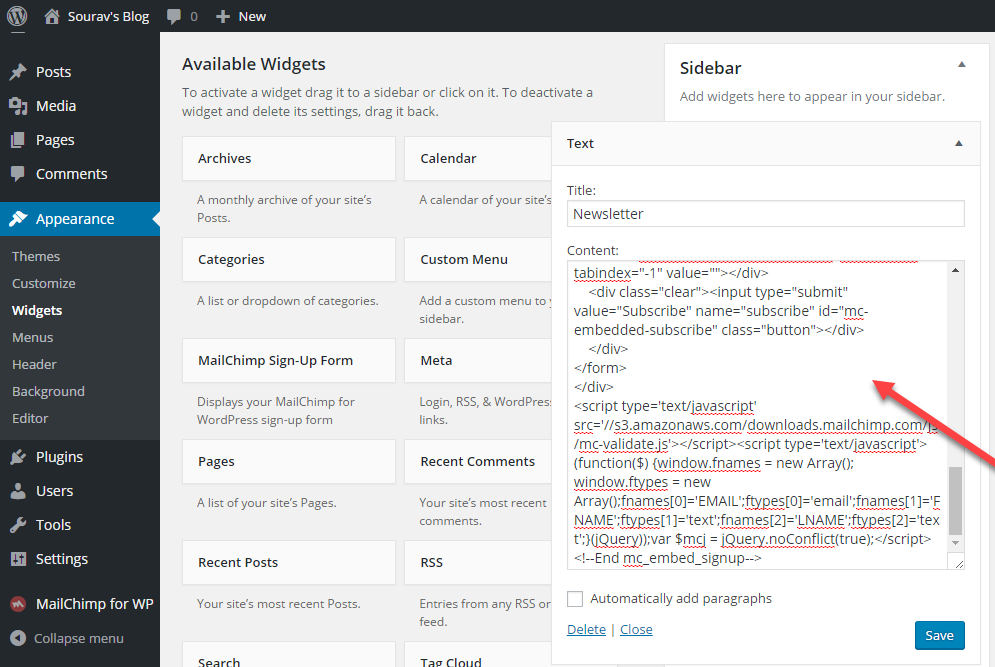
Launch your WordPress dashboard and navigate to Appearance > Widgets.
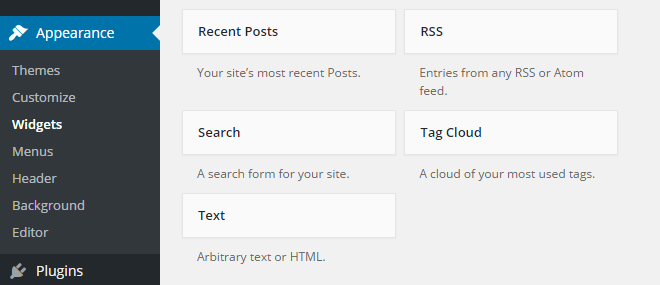
Drag-and-drop the Text widget to the widgetized area (the most common one being the sidebar) and paste the code there. Hit Save and open your WordPress site.
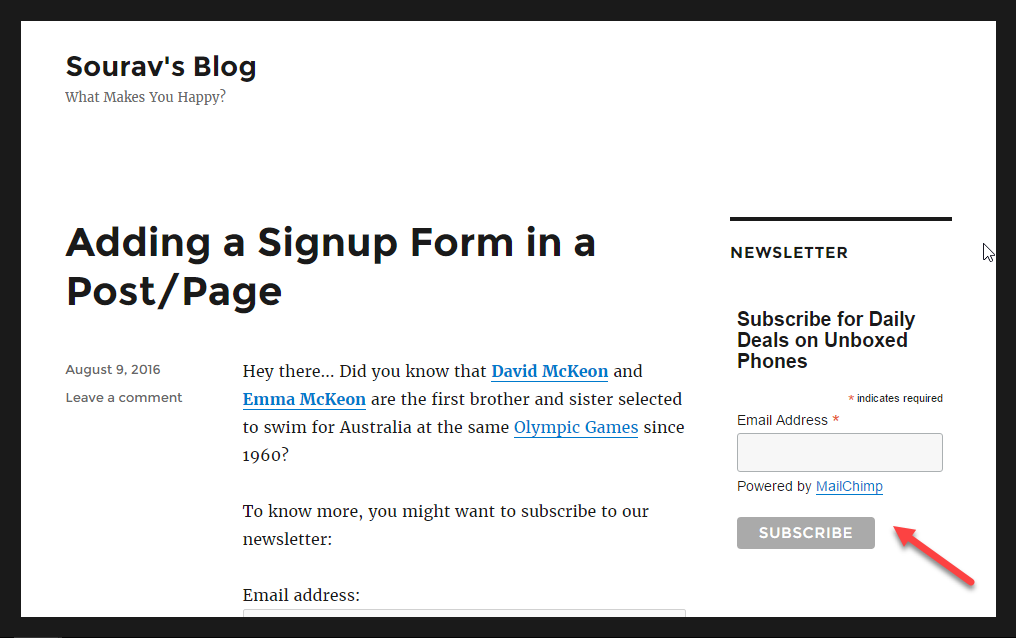
You should see the MailChimp Subscription box in your sidebar menu as shown in the screenshot below:
METHOD 2: CONFIGURING MAILCHIMP FOR WORDPRESS PLUGIN

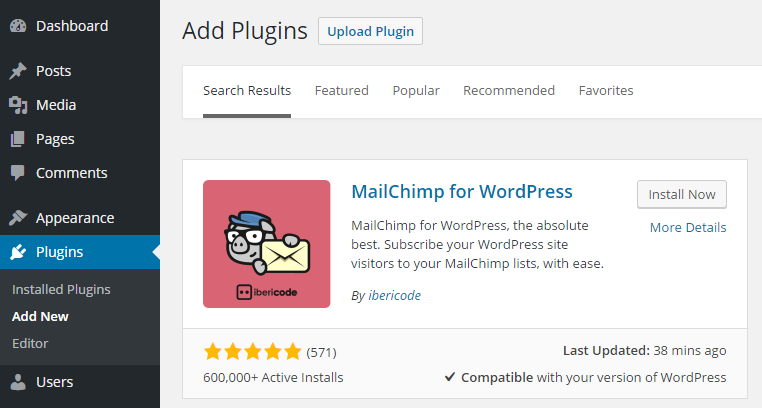
While MailChimp has a lot of WordPress specific integrations available, this plugin is by far, one of the best plugins in the market. We’ll quickly take a short tutorial to try out its various cool features. Installing the plugin is a breeze. Head over to WP Dashboard > Plugins > Add New and you’re set.
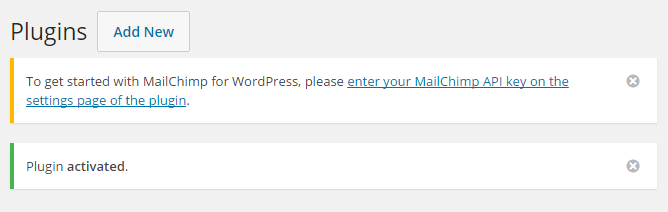
Click on Activate Plugin to set the ball rolling.

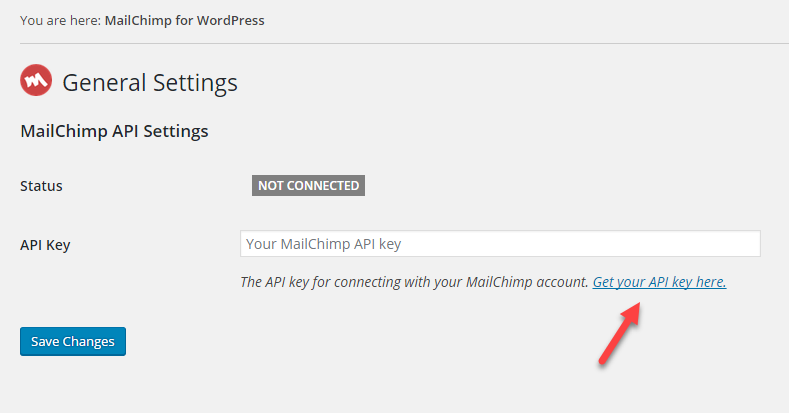
As soon as you activate the plugin, a message comes up where you’ll have to add your MailChimp API key. This step would grant the plugin access to your MailChimp account. All your lists, campaigns and other settings will be imported without any configuration.
Follow the link to get your API key. (Open a new tab and ensure that you’re logged in to your MailChimp account before you proceed).
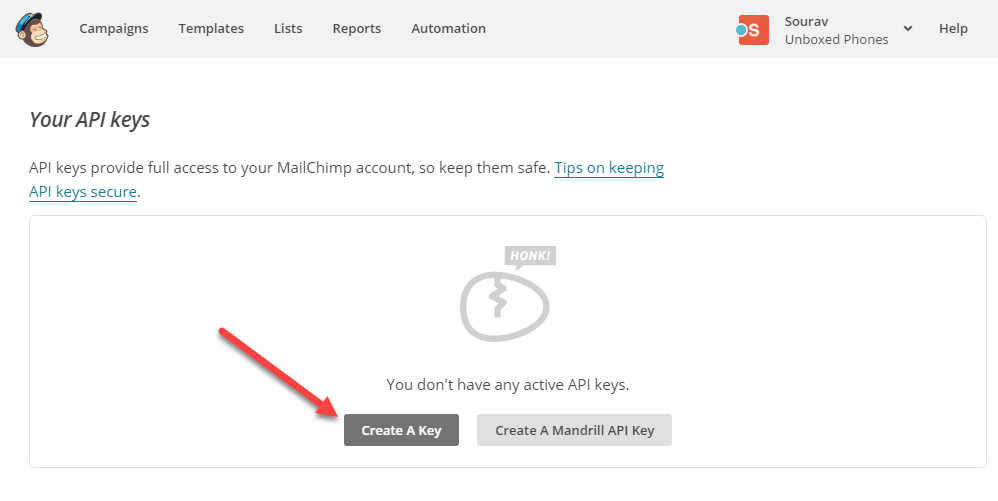
You’ll be redirected to your MailChimp account. Select Create A Key.
Copy-paste the API key in the plugin’s settings page and hit Save Changes.
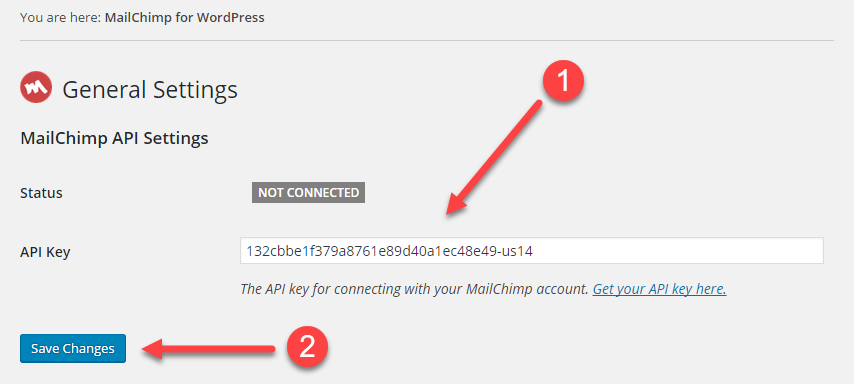
You should get a green signal as shown below. Notice how all your existing lists are imported to the plugin.

HOW TO CREATE NEW SIGNUP FORM
The MailChimp for WordPress plugin lets you create new signup form to be placed anywhere in your site. To create a new signup form, go to WordPress Dashboard > MailChimp for WordPress > Signup Forms.
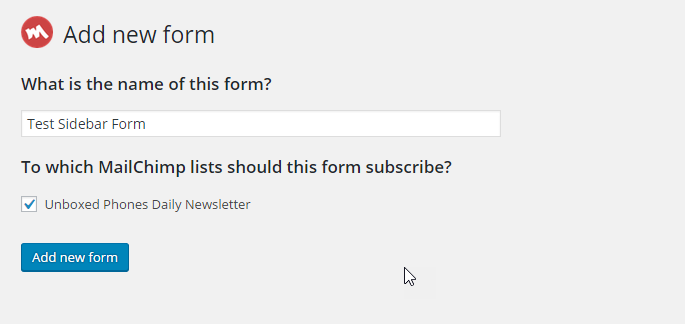
Enter the name of the form and select the list of which it would be a part. In our tutorial we have selected the Unboxed Phones Daily Newsletter list, which means that anyone who subscribes using this form is added to that list.
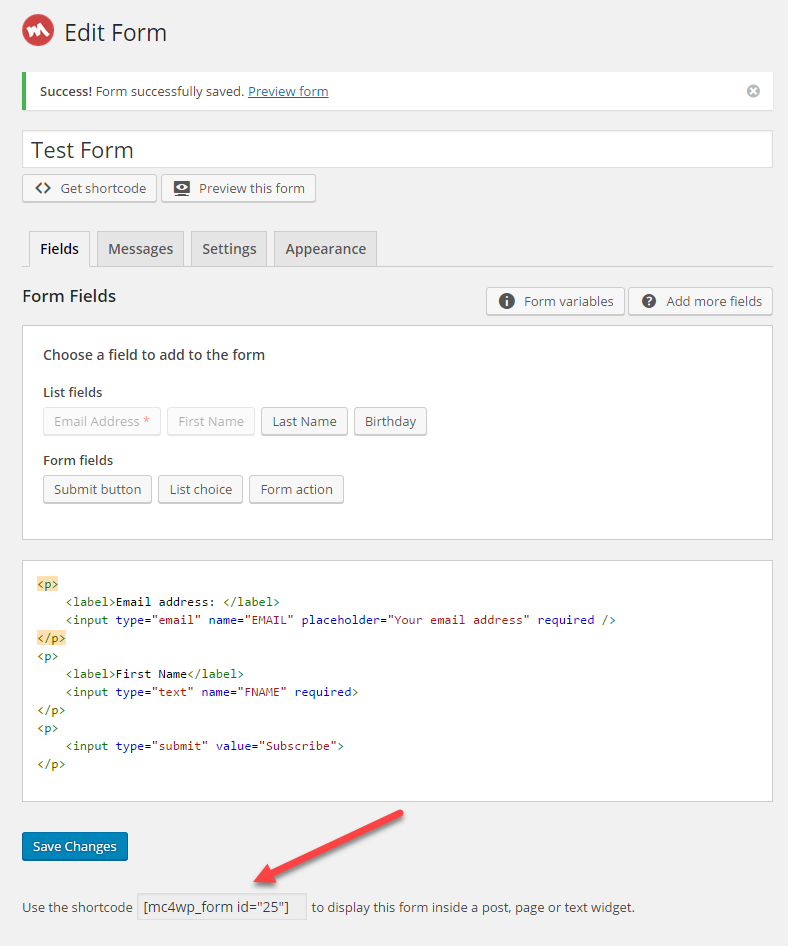
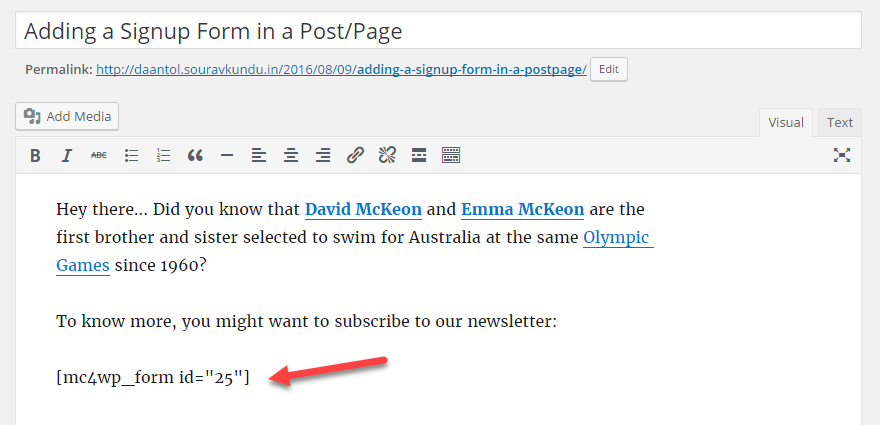
In the next page, you can design the form according to your requirements. A unique shortcode of this particular signup form is also available. When we use this shortcode in a WordPress post or a page, the newsletter is shown in its place. Check out this example below:
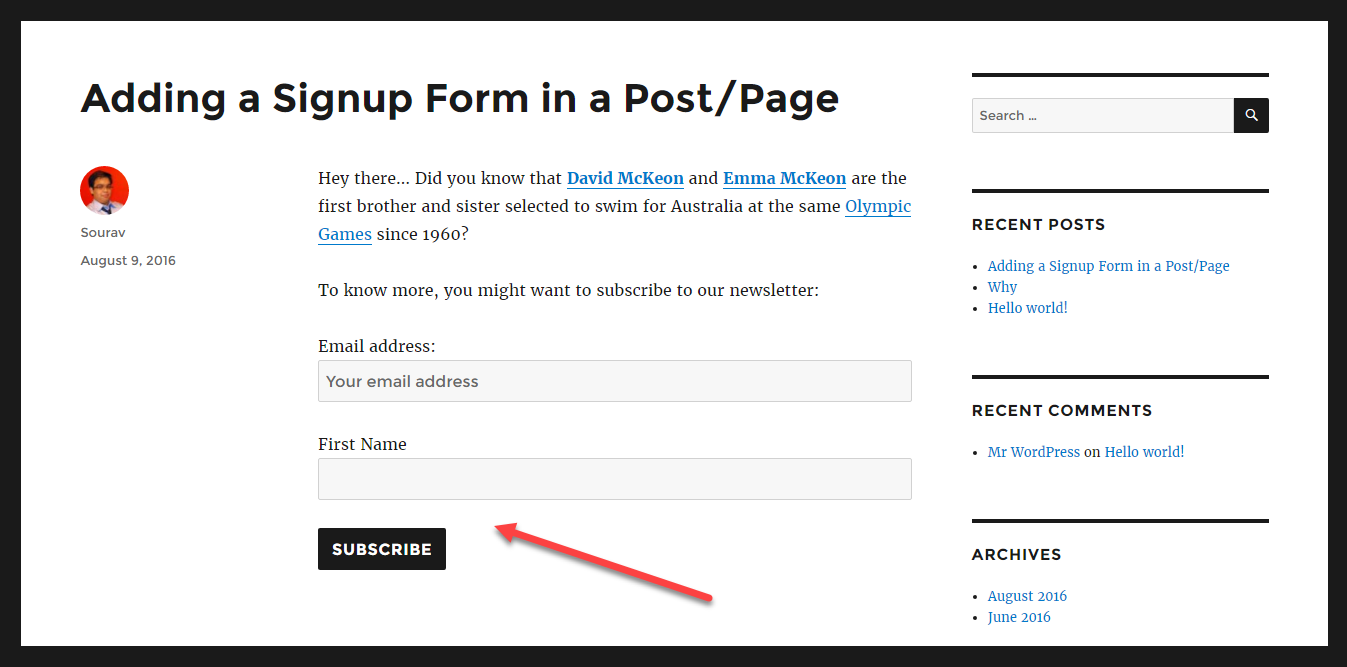
The same post, when viewed live:
ADDING A SUBSCRIPTION OPTION TO COMMENT AND REGISTRATION FORM IN MAILCHIMP FOR WORDPRESS
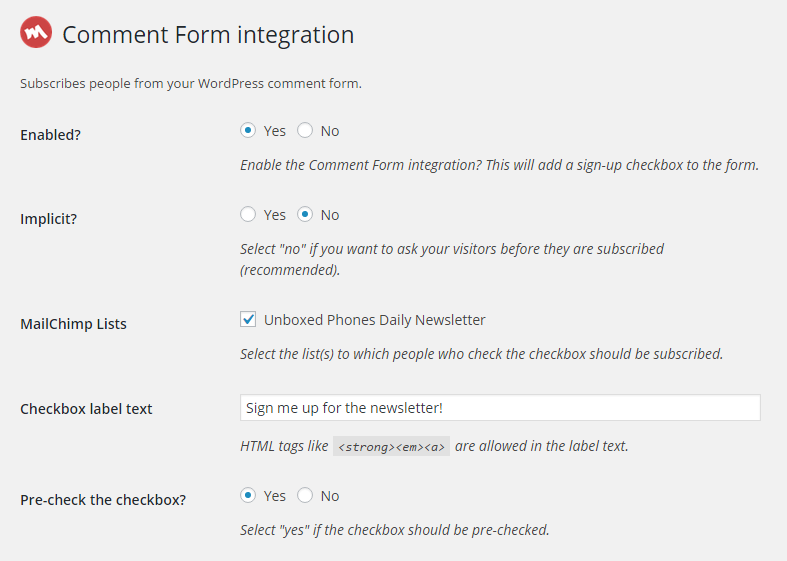
MailChimp for WordPress also allows you to add the the newsletter subscription option in your comment and registration form via Integrations.
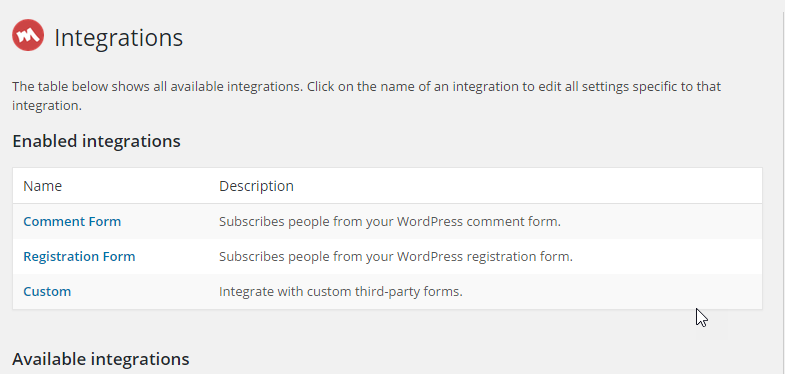
To enable the Custom Form integration, head over to WP Dashboard > MailChimp for WP > Integrations > Custom Form Integration. Simply enable the integration and you’re good to go with the default options.
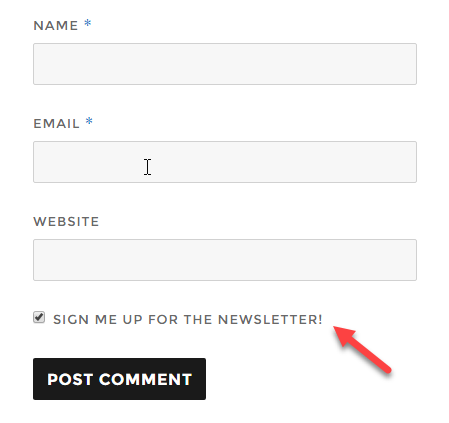
This would be the result:
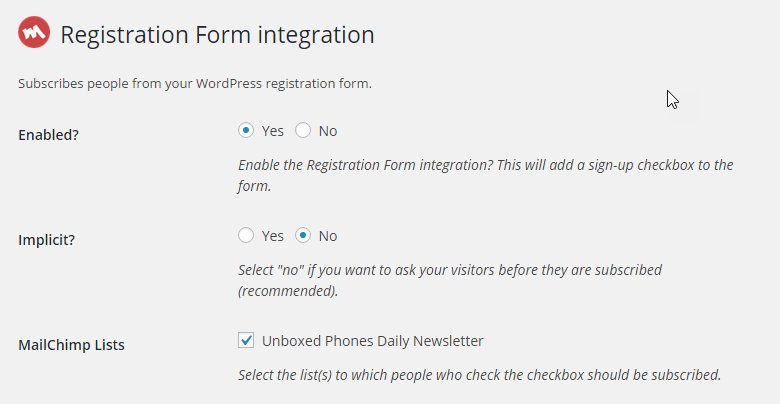
Similarly we can enable the settings for Registration Form Integration:
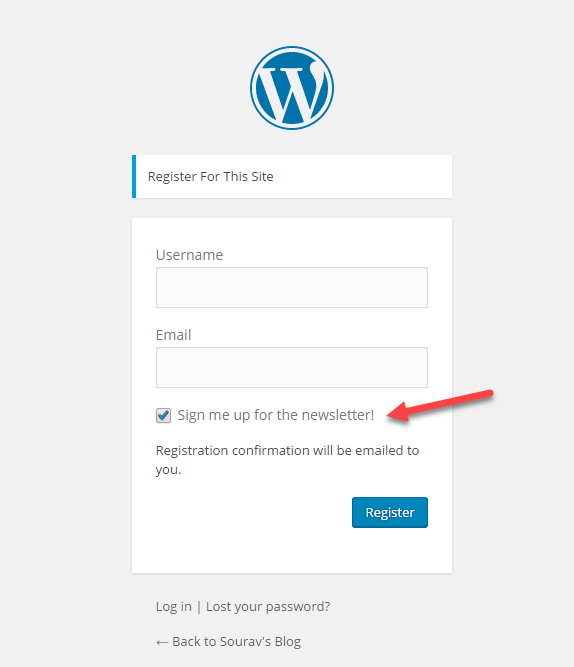
And the result would be:
Pricing
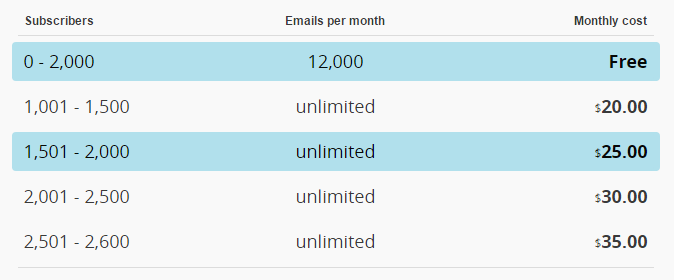
The free tier of MailChimp allows you to send 12,000 emails per month to a maximum of 2000 subscribers. Which is a pretty generous quota if you ask me. However, you are not allowed to use affiliate emails, such as products or services which you do not directly sell.
Final Thoughts
When it comes to email marketing, MailChimp is one of the premier players. With its rock-solid infrastructure, host of additional products and intuitive interface, anyonecan get started with their newsletter campaigns within minutes. Coupled with the power and simplicity of WordPress, MailChimp is a game-changer.
If you haven’t started sending out your own email newsletter yet, get to it: today!
Source: WinningWP